티스토리 뷰

SnapKit ?
AutoLayout을 간결한 코드로 작성할 수 있는 프레임워크
https://github.com/SnapKit/SnapKit
Install SnapKit
SPM(Swift Package Manager)을 이용해 설치해 주었다. 물론 CocoaPods, Carthage으로도 가능하다.

File - Add Packages...

SnapKit의 Github 주소 복붙 후 Add Package

SnapKit 체크 후 Add Package

완료
이제 사용해보자
SnapKit Usage
SnapKit Github에 있는 예제 코드이다.
뷰를 하나 만들고 중앙에 위치시켜보자.

1. 먼저 firstBox라는 UIView를 생성
2. addSubView로 firstBox 추가
3. 제약을 줄 객체에 snp.makeConstraint { 클로저 }를 이용해 제약을 추가한다.
제약 조건들을 보자
make.width.height.equalTo(50)
make.center.equalTo(self.view)
먼저 width와 height를 50으로 지정하고
center를 view의 center와 같게 설정했다.
첫번째 제약 조건처럼 같은 제약을 걸때는 한번에 작성 가능하다.
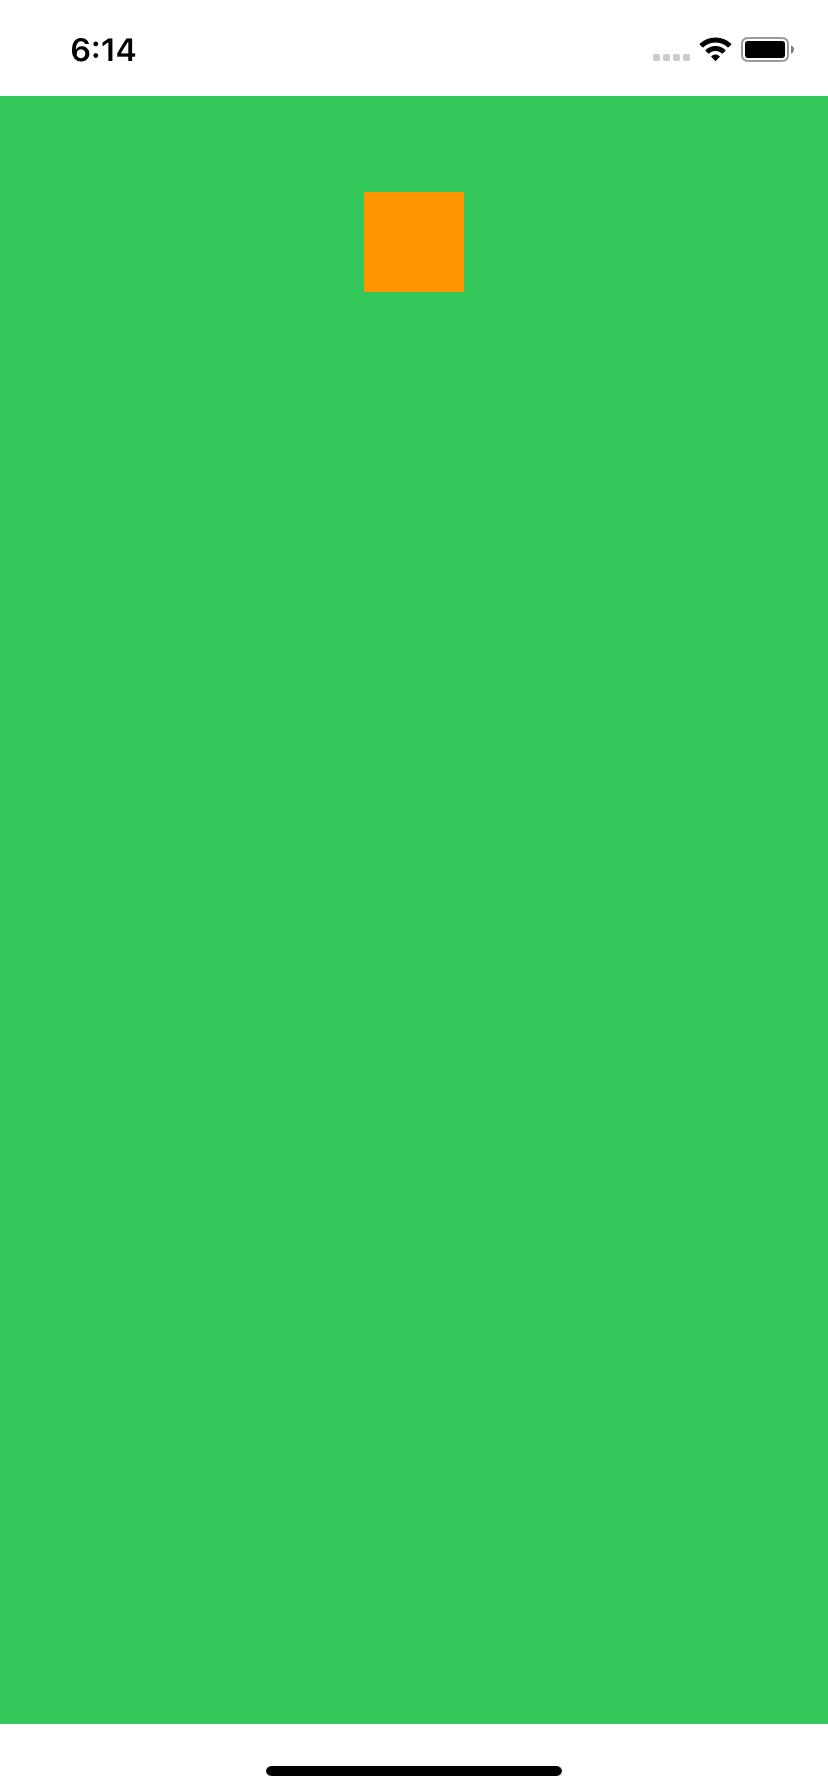
실행결과

추가로 이것저것 해보자
equalToSuperView
firstBox의 top, bottom, leading, trailing의 Constraints를 SuperView와 같게 해보자.


offset
offset을 추가할수도있다.
각 제약조건에 80의 offset을 추가해보자.

참고로 Top, Leading에 offset을 줄때는 양수로 줘야하고,
Bottom, Trailing에 offset을 줄때는 음수로 줘야한다.

safeArea
safeAreaLayoutGuide를 이용해 safeArea에 Constraints를 맞출수도 있다.


다른 객체를 기준으로 Constraints 추가
secondBox 객체 생성하고 배경색을 오렌지색으로 설정 후 subview로 추가한뒤
firstBox를 기준으로 Constraints을 주었다.

secondBox 부분을 보자
secondBox의 top을 firstbox의 top과 같게 해주었고 offset을 48만큼 주었다.
그리고 centerX값을 firstbox와 같도록 설정했다.

secondBox의 top을 firstBox의 bottom을 기준으로 80만큼 떨어져 있도록 해보자.

secondBox의 2번째 제약조건을 보면 firstBox.snp.bottom을 통해 firstBox의 bottom에 접근했다.

UpdateConstraints
.snp.updateConstraints를 통해 이미 존재하는 contraints를 update할 수 있다.
(존재하지 않는 constraints를 update할 경우에는 error 발생)
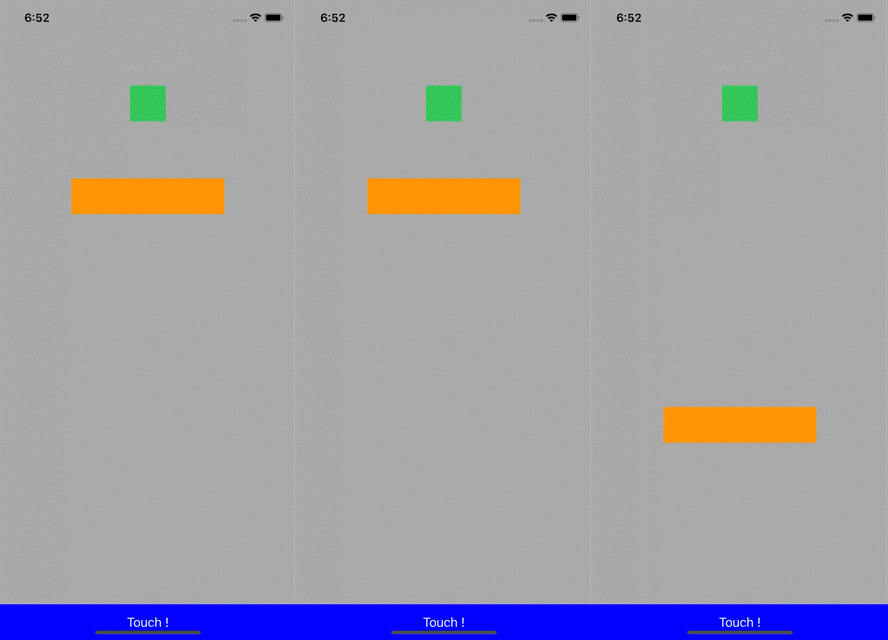
myButton이라는 버튼을 만들어 버튼을 터치하면 secondBox의 top constraints가 늘어나도록 해보았다.

import UIKit
import SnapKit

class ViewController: UIViewController {

    // 1. Create View
    lazy var firstBox = UIView()
    lazy var secondBox = UIView()
    lazy var myButton = UIButton()

    override func viewDidLoad() {
        super.viewDidLoad()
        style()
        layout()
    }
}

extension ViewController {
    func style() {
        self.view.backgroundColor = .lightGray
        firstBox.backgroundColor = .systemGreen
        secondBox.backgroundColor = .systemOrange

        myButton.setTitle("Touch !", for: .normal)
        myButton.titleLabel?.tintColor = .white
        myButton.backgroundColor = .blue
        myButton.addTarget(self, action: #selector(changeLayout(_:)), for: .touchUpInside)
    }

    func layout() {
        self.view.addSubview(firstBox)
        self.view.addSubview(secondBox)
        self.view.addSubview(myButton)


        firstBox.snp.makeConstraints { make in
            make.width.height.equalTo(50)
            make.top.equalToSuperview().offset(120)
            make.centerX.equalToSuperview()
        }

        secondBox.snp.makeConstraints { make in
            make.height.equalTo(50)
            make.top.equalTo(firstBox.snp.bottom).offset(80)
            make.leading.equalTo(100)
            make.trailing.equalTo(-100)
        }

        myButton.snp.makeConstraints { make in
            make.height.equalTo(50)
            make.bottom.leading.trailing.equalToSuperview()
        }
    }

    @objc func changeLayout(_ sender: UIButton!) {
        secondBox.snp.updateConstraints { make in
            make.top.equalTo(firstBox.snp.bottom).offset(80 * 5)

        }
    }
}
'iOS' 카테고리의 다른 글
| iOS) UICollectionView Programmatically (0) | 2022.07.20 |
|---|---|
| iOS) Error "UICollectionView must be initialized with a non-nil layout parameter" (0) | 2022.07.19 |
| iOS) CAGradientLayer (Gradient View) (0) | 2022.07.12 |
| iOS) UITableView 기본적인 사용 방법 (0) | 2022.07.03 |
| iOS) Auto Layout 기초 코드로 구현하기 (0) | 2022.07.01 |
- Total
- Today
- Yesterday
- Gradient View
- 1406 에디터
- BOJ 17298
- Card CollectionVIew
- git
- sheetPresentationController
- Carousel Effect
- CAGradientLayer
- BOJ 17413
- Custom Detent
- ios
- bottom sheet
- Sheet Height
- 2023 회고
- Algorithm
- github
- Stack
- UICollectionView Error
- BOJ 10866
- BOJ 1935
- BOJ 10799
- autolayout
- BOJ 10809
- 요시푸스
- NaverMaps
- swift
- crud
- BOJ 10808
- BOJ 10820
- UICollectionView banner
| 일 | 월 | 화 | 수 | 목 | 금 | 토 |
|---|---|---|---|---|---|---|
| 1 | 2 | 3 | 4 | 5 | 6 | 7 |
| 8 | 9 | 10 | 11 | 12 | 13 | 14 |
| 15 | 16 | 17 | 18 | 19 | 20 | 21 |
| 22 | 23 | 24 | 25 | 26 | 27 | 28 |
